- Always Carry Batteries
This is the easiest issue to fix. No matter what the battery level looked like just a few weeks ago it always seems one dies out of no where. There's nothing more frustrating than having to leave a dead camera in the woods, or having to pull it to replace batteries. Know what kind of batteries you need and carry plenty with you. Most common are AA, and C.
- Format or Label Your Cards
Another source of major frustration when checking cameras is finding you have no pictures after leaving the camera in action for weeks or months. Impossible! Well, actually its probably your own fault. Each camera has specific and unique folder names that it creates on your SD card. If you are constantly switching cards between multiple brands of cameras you will end up with a camera that "Can't find the right folder"; resulting in zero pictures. There are two ways to remedy this. One is after each time you view your cards at home "Format" the card. Formatting will erase ALL information on the card and allow the camera to start fresh. The other easy fix is to label both your cameras and cards. For instance, if you have 3 cameras label your cameras 1-3. Then buy 6 cards. Label them 1A and 1B, 2A and 2B, 3A and 3B. Put all your A cards in their corresponding cameras initially. Then when you go check pictures pull your A cards and replace them with your B cards. Problem solved. No formatting required.
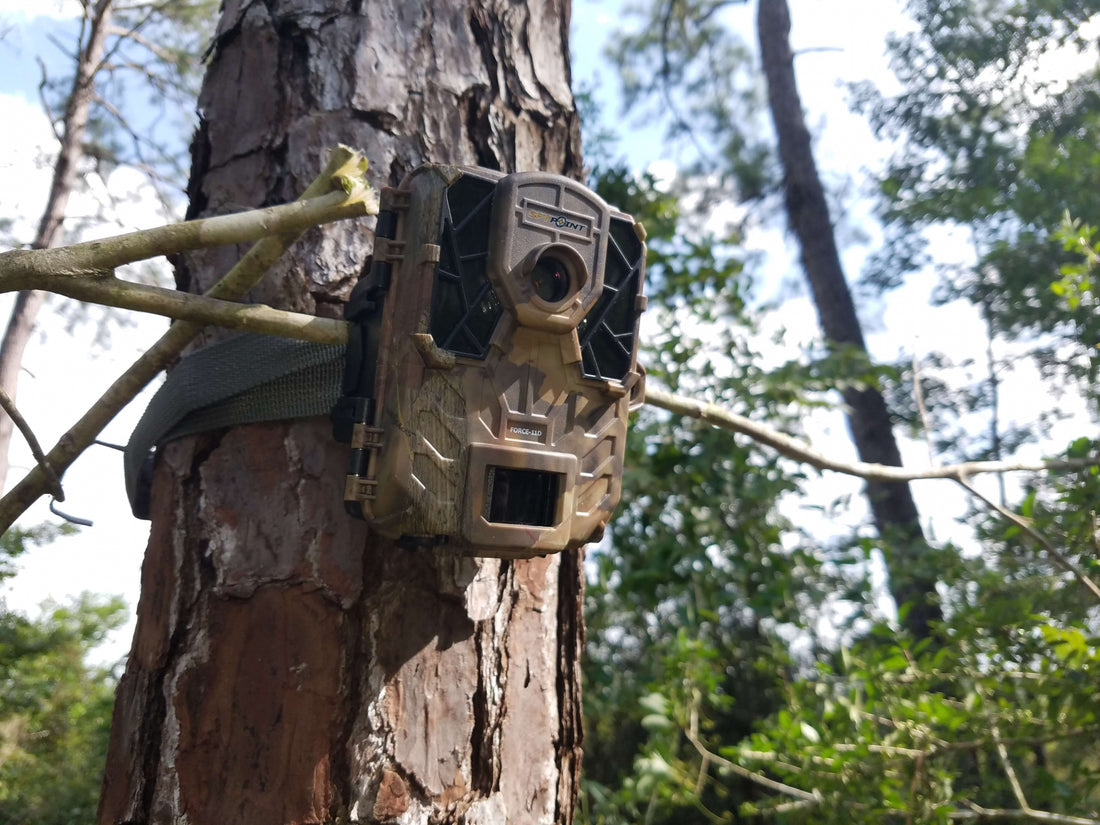
Another solution is get a camera with a built in viewer like the Spypoint Force 11-D, or carry a card reader or phone attachment to the woods. If there aren't any good pictures simply delete, and leave the current card in it. Simple.

- Keep Cards Clean
Getting quality pictures requires a quality camera, and a clean, undamaged card to store the pictures. The cards have metal contacts on the bottom of them that allow the transfer of data within the camera. If those contacts have corrosion or are broken you can say bye bye to you precious deer pictures. A cheap and easy to use case to store them in and for carrying back and forth from the field can make them last as long as you'll need them.

- Use a GPS
Don't do what I use to do and rely on your failing memory to retrace your steps to your newly placed trail camera! I've ended up donating a few to Mother Nature this way. Get a good GPS, and mark the location of all the cameras. My GPS has a camera icon to make finding them easy. The way point # on your GPS can also serve as the camera # for easy reference and when talking about a specific location.

- Location, Location, Location
Bait piles, mineral sites, trail heads, heavily used crossing are all easy targets to capture your best trail camera content. That's not all you need to know to get the best pictures. I have learned that mature bucks, at least in my area, don't really care for obviously placed cameras. I place them high and angle down to keep them out of their line of sight and have less chance of disturbing them. This is especially important if you aren't using an invisible flash. Some deer could care less. But I figure why take the chance! (Placing them above head level is also a good practice if rising water is a concern).

Hang your cameras facing North or South. If you face them East, you'll get blank pictures in the morning. If you place them facing West, blank pictures in the evening; not to mention the awful glare. That pesky sun puts off heat! Heat just happens to be 50% of what the cameras need to trigger a picture. Another way to avoid blank pictures is trim tall grass or hanging limbs away from the field of view. If you have the presence of heat and the grass starts moving in the wind, you will collect a good 10-15 pictures of your nice green weeds.
Have fun with you cameras. Experiment with their locations and move them with the changing seasons. Learn to pattern you target buck's movement with them and they can be a huge asset this fall instead of a huge pain in the head!

